Understand What Makes Artwork Laser-Ready
Laser cutting almost always starts with vector artwork because these precise paths guide the machine on where to cut, etch, and score via your laser cutter.
- Keep closed paths intact—open gaps confuse the cutter and leave jagged starts.
- Keep line thickness between 0.001″ and 0.01″ for cutting (depending on your machine) to ensure clean cuts without burned edges.
- When separating cut and engrave layers, color-code them (e.g., red for cuts, black for engraves in most workflows) and lock those layers before exporting.
- Before saving: Ensure every path is closed, no stray nodes are lurking off-screen, and objects are grouped logically.
- Double-check overlap or joined areas to avoid fragile bridges—especially on materials like wood or acrylic where strength matters.
Choose the Right Software and File Formats
- Illustrator, Inkscape, and LightBurn are the go-to software options in the maker space.
- Illustrator excels with artboards and complex curves.
- Inkscape is a free option, great for beginners.
- LightBurn is compatible with many controllers and offers native laser preview.
- File formats:
- SVG and DXF are safe for CAD-style geometry.
- AI keeps layered work intact for future edits.
- PDF is the go-to for quick sharing, especially for collaboration.
- Export clean files: Simplify paths (remove extra anchor points), hide unused layers, and test with a preview.
- Some plug-ins or scripts can automate kerf compensation to perfect the fit or automatically nest parts—saving time before you even touch the machine.
Material-Specific Artwork Tips
- Wood and acrylic react differently to the same artwork.
- For wood, keep cut spacing wide enough to avoid burning, and add texture to engravings to show the grain (e.g., stippled fills for ornaments or shadow effects for signage).
- Acrylic thrives with layered artwork, so create separate engrave files for backlit details and use vector cuts for crisp edges.
- When working with leather or textiles, scale designs to fit the material’s flexibility—too many tiny cutouts can cause breaks under stress.
- Always run tests on scrap pieces:
- A quick grid on cheap wood reveals if your spacing or line weights need tweaking.
- Adjust settings before creating a polished product like personalized gifts or leather patches.
Optimize Layout and Nesting for Efficienc
- Kerf (the width of material removed by the laser) alters final dimensions, so shrink inside pieces or offset your profile before cutting.
- For nesting multiple shapes:
- Use consistent spacing—0.05″ between parts keeps the kerf waste manageable without risking heat distortion.
- Include registration marks if you plan secondary operations or need to align mirrored halves.
- Use tabs on longer cuts to keep small pieces from shifting.
- Measure your machine’s work area and design within those bounds—avoiding waste on oversized layouts saves material and time.
- A tidy layout matching your bed size optimizes production and allows for faster turnaround on custom orders.
Common Artwork Pitfalls and How to Fix Them
- Open paths, joints thinner than 0.08″, or overlapping nodes create weak links in laser cutter artwork.
- Combine shapes to avoid redundant cut paths, add micro-bridges in the same color as the cut layer to prevent dropouts, and simplify contours before sending to the cutter.
- If beveled engravings look muddy, reduce the resolution in the raster layer or lower scan speed for a cleaner result.
- Dry-run tests on inexpensive material help spot oversize bridges or slight misalignments before you use your final wood slab or acrylic sheet.
- This quick preview shows whether the artwork needs refinement or if the laser path matches your design intent.
Bring Your Artwork to Life with Repeatable Processes
Build a workflow that starts with a rough sketch, advances through vectoring, and ends with documented machine setting
- Version control (numbered files or date stamps) keeps revisions straight—especially for layered portraits or prototypes.
- Label each exported file with material and power/speed settings so you don’t have to start from scratch on the next job.
- Keep a running log of how each material responded—wood density, acrylic thickness, leather tension—to speed up future jobs.
- Over time, your templates become a library of proven layouts and engrave styles, so you spend less time adjusting and more time creating.
Tools and Hardware That Complement Laser Artwork Creation
- A reliable digital tablet helps trace complex shapes, while precision rulers guide you when scanning hand-drawn details.
- Use consistent lighting and magnifying aids to spot imperfections before they become laser issues.
- Calibration cards or focus gauges ensure the beam stays sharp.
- Community resources, like forums and marketplaces, offer fresh inspiration and downloadable templates.
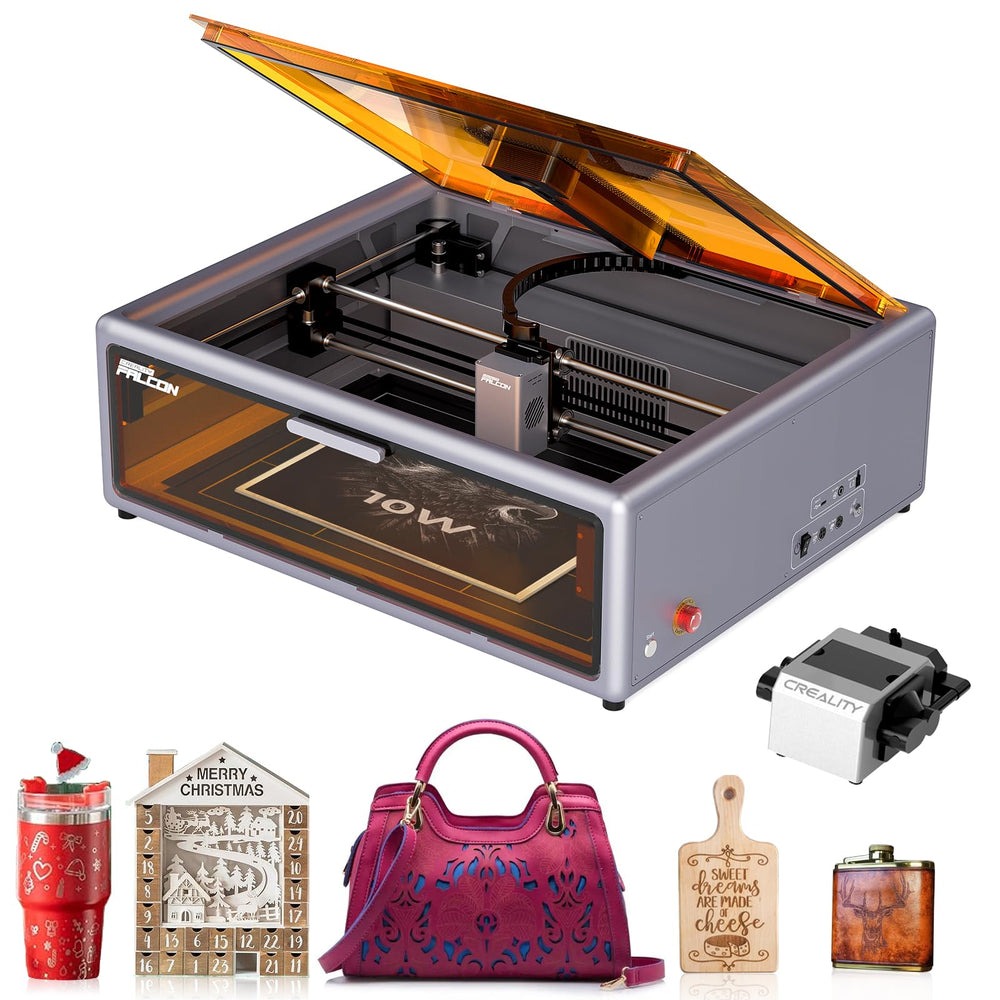
- Creality Falcon 3D Laser Cutter is a great fit for intricate artwork thanks to its high-precision head, ample work area, and built-in camera preview that makes alignment easy.
- It’s compatible with SVG, DXF, and AI workflows, preserving design detail from screen to cut.
Showcase Ideas and Next Steps
- Create layered portraits, engraved wood coasters, acrylic signage, or leather keychains as show-and-tell pieces.
- Photograph finished work with natural light, clean backgrounds, and detail shots to highlight texture and precision.
- Create a test sheet with a mix of cuts and engraves for each new material and mark the settings for future reference.
- Save a blueprint or checklist summarizing prep steps—ensuring consistent artwork every time.
- Keep experimenting, and you’ll soon move from concept to finished product with fewer hiccups each session.
Disclaimer
The information provided in this article is intended for general educational and informational purposes only. While every effort has been made to ensure accuracy regarding laser cutter artwork preparation, software workflows, and material recommendations, results may vary depending on the laser machine, materials used, and individual settings.
Operating laser cutting equipment involves technical knowledge and safety precautions. Readers should always follow the manufacturer’s instructions, safety guidelines, and local regulations when using laser cutting machines or related tools.